


 The lampshade in the basement needed some work but I wasn't sure if my idea was going to work. I didn't want to ruin the already-existing lampshade and I didn't want to buy a new one for this project. Then, lo and behold, sitting there on the curb, ready to go to the landfill was a neighbor's standing lamp. It called to me so I didn't ignore the plea of "take me home". I can't believe what people throw out. Yes, there was a tear in the lampshade, but oh! the possibilities. I've got future plans for the rest of the lamp, but this lampshade was destined for today's project so enjoy!

Before shot: the lamp is nice but boring. After shot: full of character and a little bit of pride from salvaging somebody else's trash and making it live another day in another way (what's with me and my rhymes today?).
 |
| It was so much fun picking out the fabric at Hobby Lobby! |
Cotton fabric in complimentary colors and styles
Pinking shears
Scissors
An old lampshade, of course
Note: my lampshade measures 10 inches in diameter at the top and about 15 inches at the bottom of the lampshade. Each patterned fabric, I purchased only 1/4 of a yard. The solid fabric, I purchased 1/2 of a yard. I had some fabric leftover, but not much. I had a total of 7 different fabrics.
What You'll Do
 |
| First things first: tear off the fabric from the lampshade down to the wire. |
 |
| Take pinking shears and even up the bottom of the fabric. Be sure you cut the correct direction to ensure you're strip of fabric will be long enough. Then, I cut on the fold of the fabric at the top. You should have two identical panels of the fabric. |

 |
| Using regular scissors, cut a slit two-finger widths across the fabric. |
 |
| Starting at the slit, tear down the fabric into long strips. This should be easy. |
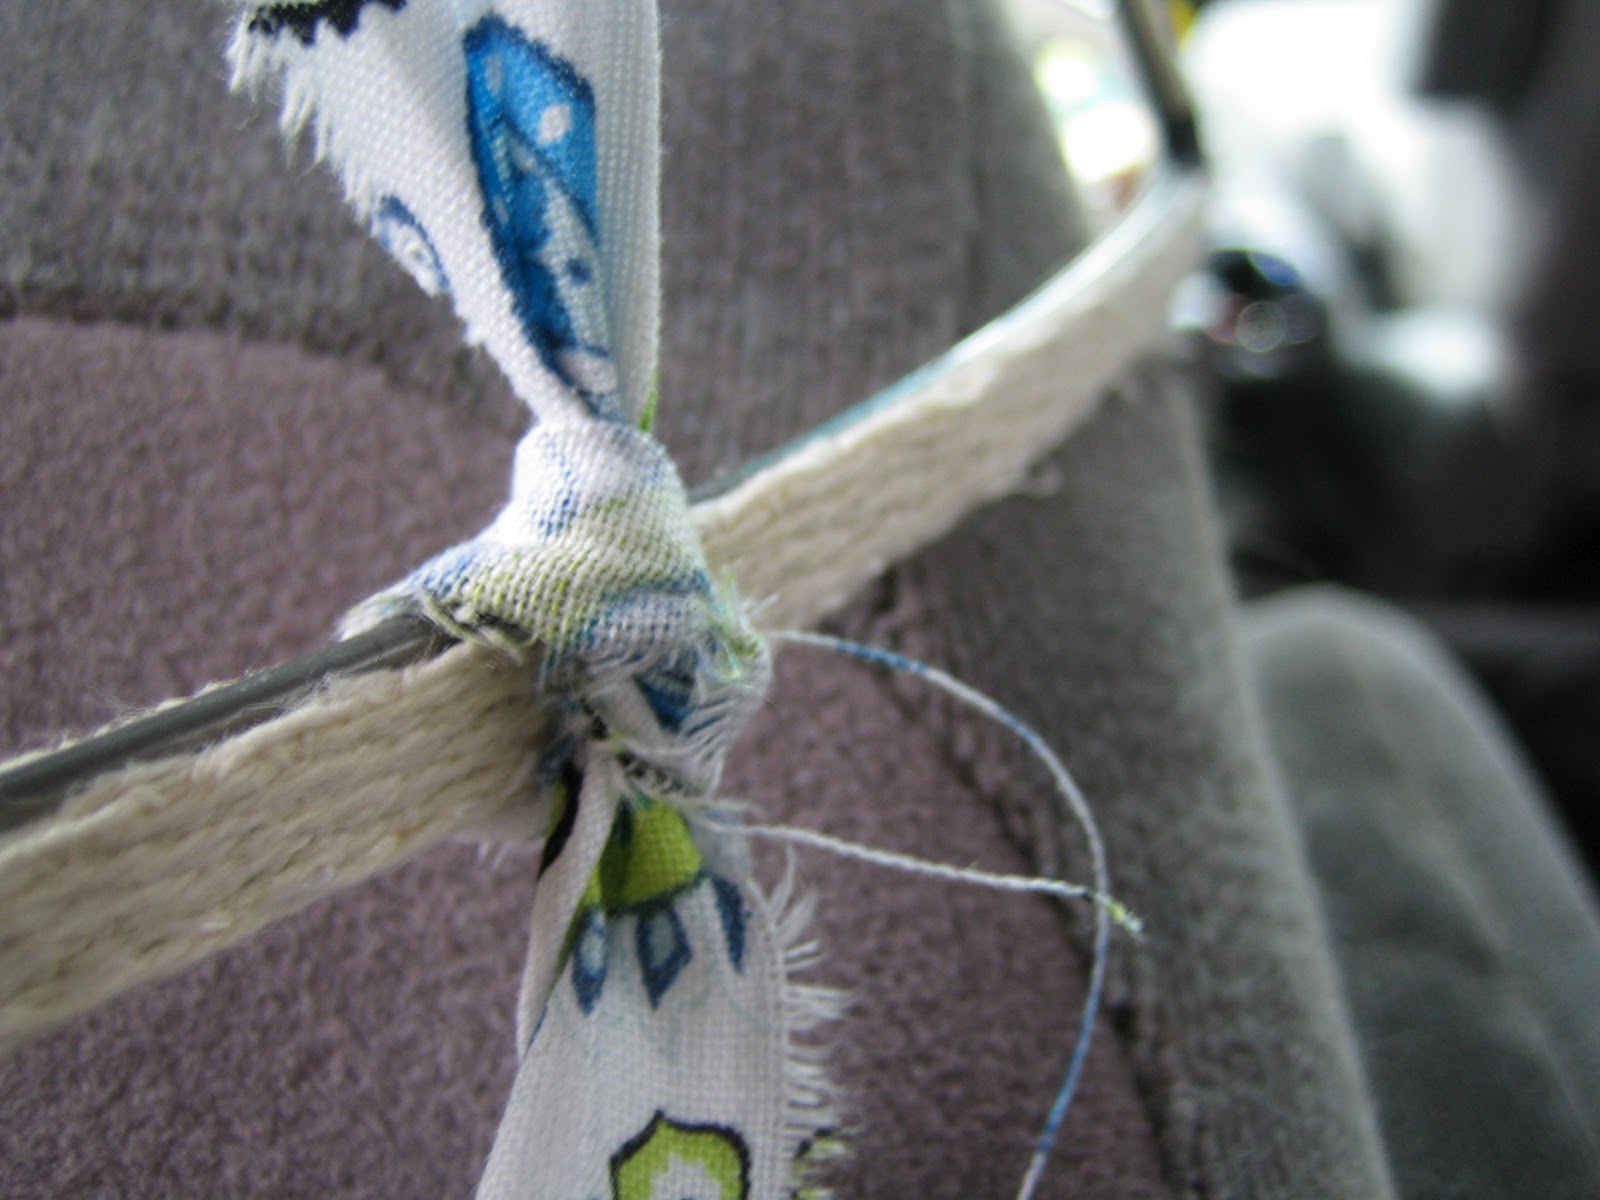 |
| Take the strip and knot it to the top and the bottom of the lampshade. |
 |
| Just like this. |
 |
| Then, keep going, and going, and going with all your fabric! |
This was such a fun and relaxing project to do on a rainy day while stuck in a car, waiting for Super Hubby. The whole project took less than 3 hours from start to finish.


11 comments:
What a great transformation! Much prettier and you made it your own! The fabric choice is so good.
Betty
Thanks, Betty! Picking out the fabric was the funnest part!
Very shabby chic!
LOVE the lampshade! Very original!
Thanks so much for sharing this at The DIY Dreamer.. From Dream To Reality!
This came out so cute. I love the colors. Thanks so much for linking with Adorned From Above's link Party.
Debi
Hey Lil..what a great find and transformation...I think you're onto something here...a mobile craft room brilliant ! ..thank you so much for joining us once again...appreciate your company..xo
So cute! What a great way to upcycle! :)
xoxo laurie
Really cute, love the color and patterns you used. This is a great way to recycle lampshade in a new fresher way. Thanks for sharing your inspiration with Sunday’s Best – you helped make the party a success!
That is so cool and original! I have basic lampshades, but I may have to spruce things up a bit.
Oh, and I'm definitely pinning this, if you don't mind!
I followed your directions and made one for my daughter. She is thrilled with it and I am so happy. Thank you!!!
Post a Comment