


Progress Checklist
If you are continuing on to Part Three, the following should have been completed:
* Finalized the point size for each Rule (this requires experimentation)
* Matched up the scrapbook paper with specific Rule and decided on order
* Cut down your scrapbook paper to feed through your printer
* Printed your chosen font and point size on your scrapbook paper
* Placed your stickers onto the "Family Rules" header
* Ripped or cut each rule and laid it loosely atop the canvas (no gluing!)
If all is in order, let's finish up and put this baby to bed!!!
What You'll Need
- Printed out, cut-out scrapbook paper with each Family Rule, including title header
- Your painted canvas
- Mod Podge
- Paint brush
- Picture hanging kit
- Hammer
- Open frame, optional depending on final design
- or Picture Frame with glass, optional depending on final design
- Fabric, optional and only applicable if going with Picture Frame with glass design option
- Coordinating ribbon, optional depending on final design
- 3M Command Strips for picture hanging, optional depending on final design
What You'll Do
Now we get to the nitty-gritty. This is where all your hard work pays off and you get to see the fruits of your labor being born, scrapbook paper strip, by scrapbook paper strip! Get ready to get a little messy.

 First, take your blank, but painted, canvas and set it down, face-up. Mark the middle of the canvas, width-wise, at the very top. This mark will help you center your strips of scrapbook paper for each printed Family Rule and the title header.
Next, find the center of your canvas height-wise and mark that area. The middle strip of scrapbook paper should end up around that area so make a mental note of it. For instance, if you have 10 rules plus the title header that reads "Family Rules", that's 11 strips of paper total. Counting from the very top, your 6th strip of paper (or technically your 5th Rule) should be positioned by the center marking based on height.
DO NOT GLUE, YET. First, place your header and your Rules on your painted canvas. PAY ATTENTION to the tops and bottoms of each strip. Sometimes you might want the bottom of the strip overlapping the next Rule below it, and sometimes you may want the top of the strip showing. Get it?

Because I did this project with my two gal pals, we all had lots of practice as to the best methods in applying Mod Podge. HEED THIS ADVICE!!! It took us until the 3rd canvas to finally get it right. Although one gal pal's project and mine aren't perfect (some wrinkles in the paper) and represent our learning curve, we're still happy with our results. Hey, it's handmade, whaddya expect?
When using Mod Podge, DO NOT RUSH IT! The first two canvases we did, we went way too fast. We globbed on the Mod Podge like we were basting a 50-pound turkey. To avoid wrinkling of your paper, you've got to take it SLOW. The following method is the best method we have devised for applying Mod Podge and you won't get wrinkles in your paper (or your forehead, wondering what went wrong).

Apply the Mod Podge using a paint brush onto your canvas. Here, you can be a bit generous. Then, wait! Take something to fan the top of your canvas to get the Mod Podge more tacky and less wet.
Begin placing your Family Rules strips onto the canvas. Start with your title header "Family Rules". Be sure to place it right in the middle as this will determine how the rest of your strips align. Get it wrong now, and it won't be pretty by the end. Press down firmly making sure all the tips of the paper are secure and adhere to the canvas.
Next, continue to apply your Rules onto the canvas keeping in mind if the next Rule is to be placed above or below the previous Rule's edge. As you're working the strips of Rules onto the canvas, you'll need to reapply the Mod Podge and fan it down again as you go along. At all times, to avoid wrinkling, the Mod Podge on the canvas should be tacky, not wet.
 Once you've set all your strips of Rules onto the canvas, go do some laundry, start dinner, or just get some coffee and read a book for about an hour. When you come back to your canvas you'll want to seal it. Take your Mod Podge again and brush atop your beautiful creation. Brush the whole canvas, don't be shy. It'll be all white but it will dry clear, don't worry.
Once it is dry, just step back and admire your handy work. But, don't get too comfortable, you're not done yet. You do want to hang the thing for all to admire, don't you? Let's keep going!
What You'll Need to Know to (FINALLY) Finish
In displaying your labors, you're going to have to decide between many options. Either way, it'll look great no matter what you choose.
Simplest Finish
The easiest way to finish off your masterpiece is to just grab your picture hanging kit and look for the metal bracket with all the teeth. Find the center of your canvas at the top, width-wise, and mark it. Place the center of the teeth on center and mark the tiny nail-holes with a pencil. Take an ice pick or something sharp and help start a hole or indent in the area where you marked where the nails go. Place the bracket in place and pound in the little nails into the holes. Voila! You are done. Now go hang that baby!

Kind of Simplest Finish
Maybe your home is a little bit country, maybe it's a little bit rock-n-roll? Either way, you can easily step up your canvas and hang it from a ribbon instead of the doohickey teeth bracket from the back. Again, take that marvelous picture hanging kit and find 2-eyelet loops. Insert these into the back of the canvas into the wood, flush with the surface and facing each other. Take your ribbon and tie each end into the eyelet and you're done! Hang your masterpiece from the ribbon!
A Little More Effort But Still Simple Finish
 So you're a bit more posh in your abode. OK. My gal pals did theirs this way and it really helped to finish off the artwork. Buy an open frame that fits your canvas. One gal pal had to take her canvas into the store because not all frames were sized equally to fit her canvas - weird but true!
To begin, you'll have to do the instructions for getting the doohickey teeth bracket into the wood area behind your canvas (see Simplest Finish, above).
Now, you'll need to mount your canvas into the frame. One gal pal used stepped brackets and nailed them into the frame to hold the canvas in place. It worked brilliantly and your local craft store can help you size up which height you'll need, just bring in your work for proper measurement.

My Way, The Most Complicated Way to Finish
I'll admit, I can elevate simple to complicated in a sheer nanosecond and this project is no exception. I found a frame I really liked but it had glass in it - pooh! I wanted my Family Rules to also be 3-dimensional so there was no way I was going to mount my rules on a flat sheet of paper and put it behind glass, no! I bought the glassed frame but didn't want to break the glass to get the frame. I wanted to have the option to use the frame as originally intended, perhaps, in the future.


 So, I bought a coordinating fabric and placed it over the glass then put the glass back into place. No damage to the glass. Then I cut a strip into the fabric and mounted a 3M Command Strip specifically for picture hanging. Again, with the Command Strip, no damage to the glass. I mounted my doohickey teeth bracket to the back of my canvas and hung that on the 3m Command hook. There you have it! Whew!
Thanks so much for keeping up with this project. I know by the number of visits that this has been an interest to many. I hope you do this Family Rules Project because it really helps bring the family together. I also hope you grab some of your own gal pals and do this project together. It was so great to have the company, and it gave us an excuse to meet each week. Since the project was completed, neither of us has had the time to even go out for coffee - boo hoo!!! But, when you have a project to finish, you make the time to get together - trust me!
I've scoured the Internet looking for other Family Rule inspirations and found these alternative styles and designs. I hope you visit the links and enjoy. Tell them LOVD sent you!
 |
| visit Little Lucy Lu here |
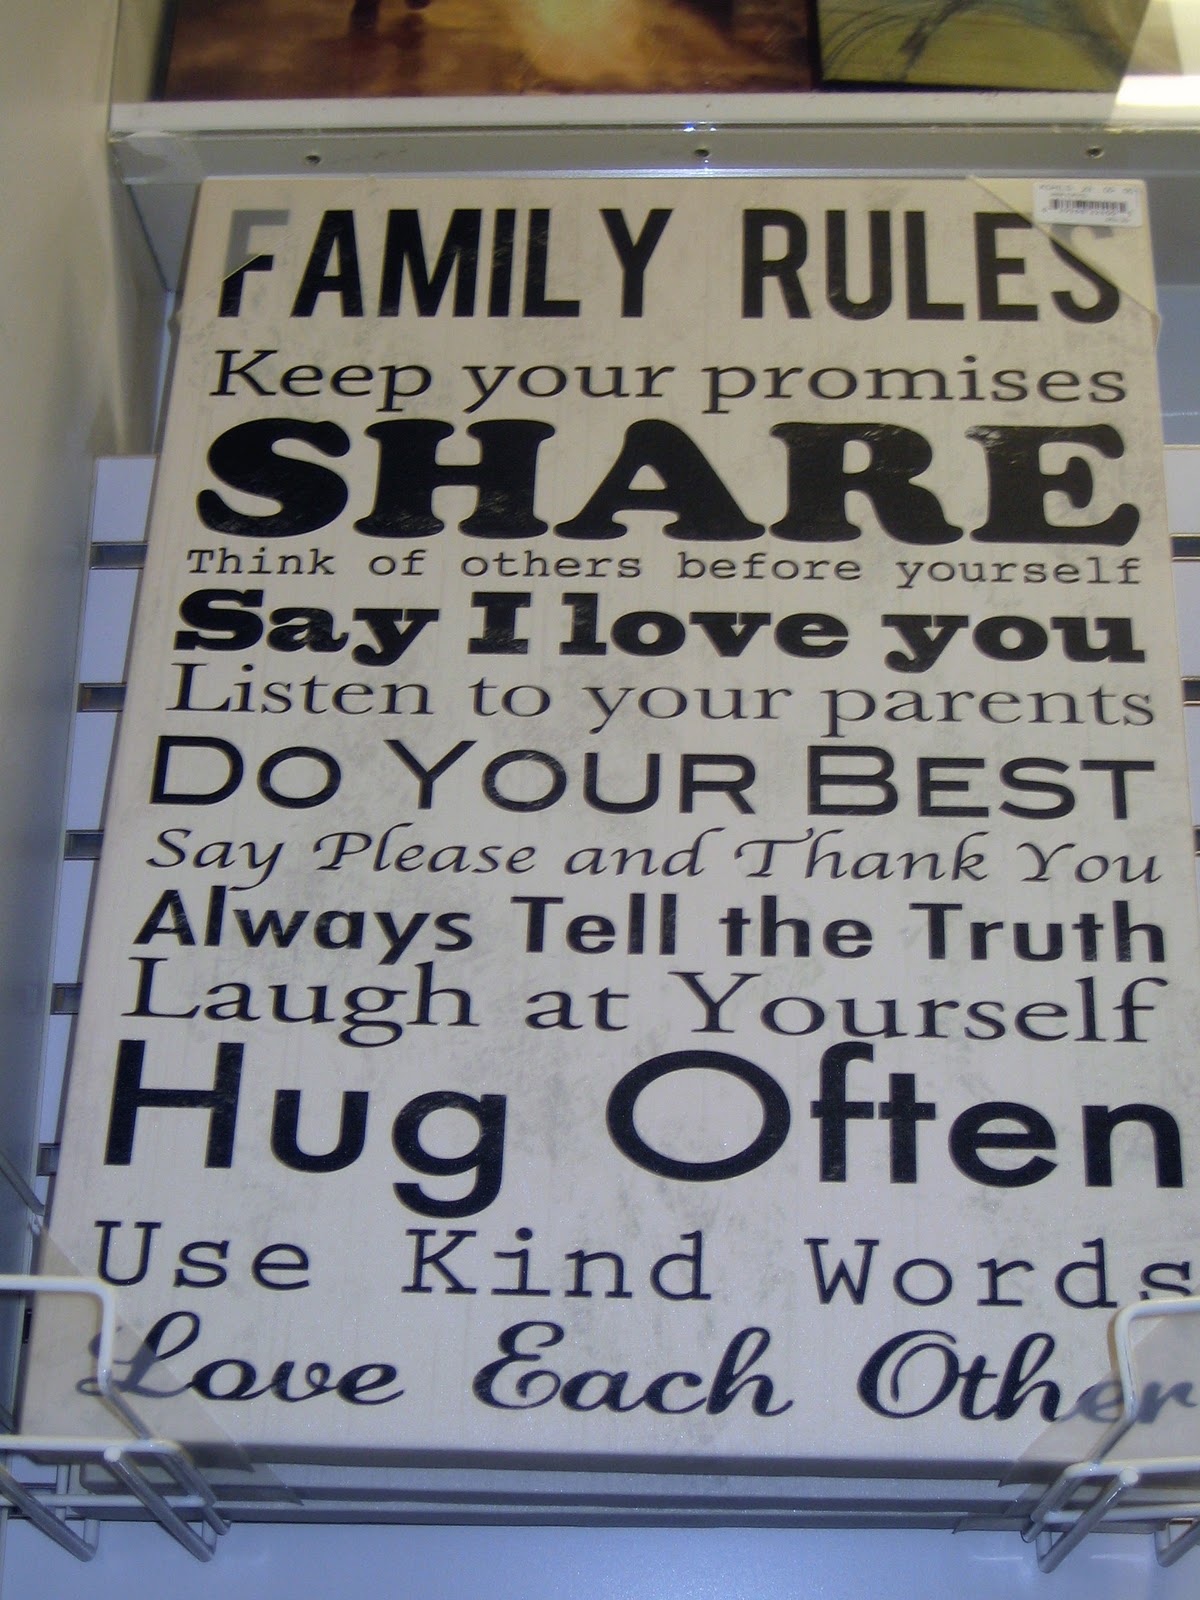 |
| Kohl's: Store-bought = BAD! |
 |
| Brilliant with a picture frame: see it here |
 |
| Talk about personal! Check it out here |
 |
| Chalking gives you the flexibility to change over time. See it more here |
If you need even more ideas, check out this link at Pinterest, click here!
If you happen to do your own Family Rules Project, I would LOVE to see your results. Please send me an e-mail, found in my View Profile to the left, and attach some pics!!!!
Thanks to all who stuck with this ongoing post for the last three weeks!!!! LOVD you all!!!


7 comments:
I really like your family rules and appreciate your three-part instructions series, Lilly. That is a wonderful tip to let the mod podge get tacky. Blessings to you! Kim
Thanks for the shout out!! I love your take on the family rules... I want to add "Read Together" to mine!
Wow, that looks fabulous! You did a great job...love your choices of colors/papers, and your rules too of course! This is such a personal, meaningful piece of art! I tend to rush my mod-podgin' and I pay for it in the end. :p
What a great project! You did a great job and I'm so glad that you shared the process! Enjoy your new art...
Thank you so much! I love your family rules, too!
Oh my goodness...I cannot believe the time and effort you took into writing this post...thank you so much for your dedication to your readers...the project turned out beautiful !
Have a great weekend...xo
Lu
I love this!! Serious, you did such a great job!!
Post a Comment